As you embark on your adventures in the great outdoors, the idea of harnessing the sun’s energy to power your camper can be both exciting and practical. A camper solar system diagram serves as a visual guide, illustrating how solar panels, batteries, and other components work together to create a self-sufficient energy source. Understanding this diagram is essential for anyone looking to enhance their camping experience with renewable energy.
By tapping into solar power, you can enjoy the comforts of home while minimizing your environmental footprint. The camper solar system diagram typically includes various elements such as solar panels, charge controllers, batteries, and inverters. Each component plays a crucial role in converting sunlight into usable electricity for your camper.
As you familiarize yourself with these components and their functions, you’ll gain a deeper appreciation for the technology that allows you to explore remote locations without sacrificing modern conveniences. This article will guide you through the intricacies of camper solar systems, helping you make informed decisions about installation and maintenance.
Key Takeaways
- A camper solar system diagram provides a visual representation of how solar panels, batteries, charge controllers, and inverters are connected in a camper.
- Understanding the components of a camper solar system, such as solar panels, batteries, charge controllers, and inverters, is essential for successful installation and operation.
- Installing a solar system in your camper can provide benefits such as energy independence, cost savings, and environmental sustainability.
- When choosing the right solar system for your camper, consider factors such as power requirements, available space, and budget.
- A step-by-step guide to installing a solar system in your camper should include planning, mounting solar panels, connecting components, and testing the system for proper operation.
Understanding the Components of a Camper Solar System
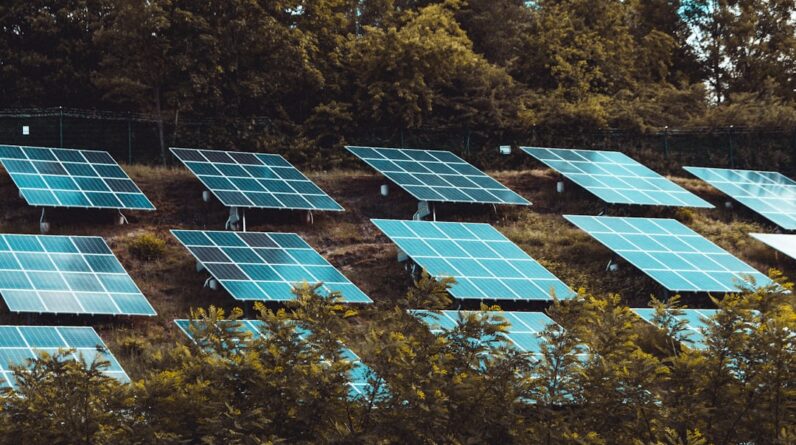
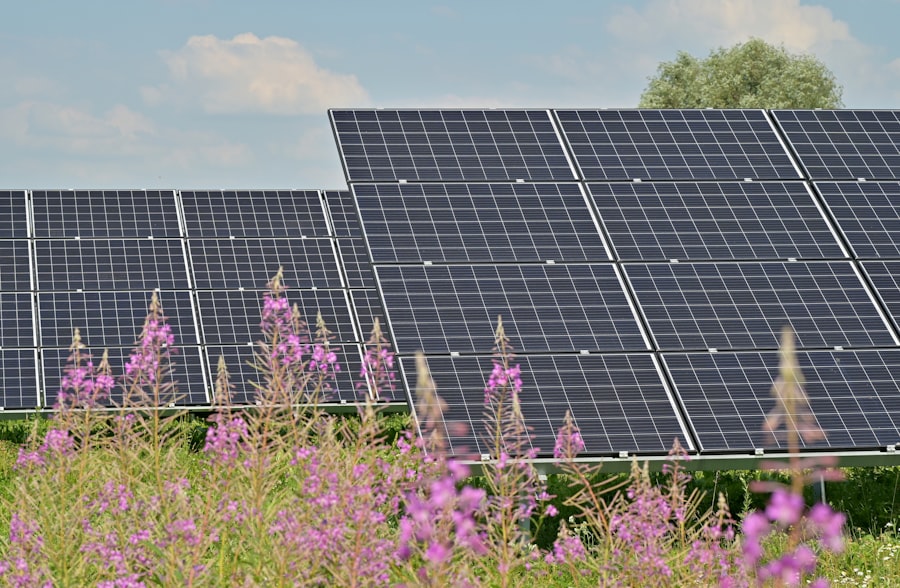
To fully grasp how a camper solar system operates, it’s essential to understand its key components. At the heart of the system are the solar panels, which capture sunlight and convert it into direct current (DC) electricity. These panels come in various sizes and efficiencies, allowing you to choose the right fit for your energy needs.
When selecting solar panels, consider factors such as wattage output, weight, and durability, especially if you plan to travel frequently. Next in line is the charge controller, which regulates the flow of electricity from the solar panels to the batteries. This component ensures that your batteries are charged efficiently and prevents overcharging, which can lead to battery damage.
There are two main types of charge controllers: PWM (Pulse Width Modulation) and MPPT (Maximum Power Point Tracking). While PWM controllers are more affordable, MPPT controllers are generally more efficient and can extract more power from your solar panels, making them a popular choice for many campers. Batteries are another critical component of your solar system.
They store the energy generated by your solar panels for use when sunlight is not available, such as during the night or on cloudy days. Deep-cycle batteries are commonly used in camper solar systems due to their ability to discharge and recharge repeatedly without significant degradation. When choosing batteries, consider their capacity (measured in amp-hours) and type (lead-acid or lithium), as these factors will influence how long you can run your appliances without recharging.
Finally, an inverter is necessary if you plan to use standard household appliances that require alternating current (AC) electricity. The inverter converts the DC electricity stored in your batteries into AC power, allowing you to run devices like laptops, microwaves, and televisions. When selecting an inverter, pay attention to its wattage rating to ensure it can handle the combined load of all your appliances.
Benefits of Installing a Solar System in Your Camper
Installing a solar system in your camper offers numerous benefits that can significantly enhance your outdoor experience. One of the most compelling advantages is energy independence. With a solar setup, you can generate your own electricity wherever you go, eliminating the need for noisy generators or reliance on campground hookups.
This freedom allows you to explore remote locations without worrying about power availability, making your camping trips more enjoyable and spontaneous. Another significant benefit is cost savings over time. While the initial investment in a solar system may seem substantial, it can lead to considerable savings on fuel and campground fees in the long run.
By generating your own power, you reduce or eliminate expenses associated with traditional energy sources. Additionally, many campers find that they can extend their trips without worrying about running out of power for essential devices like refrigerators or lights. Moreover, using solar energy is an environmentally friendly choice.
By harnessing renewable energy from the sun, you reduce your carbon footprint and contribute to a more sustainable future. This aspect resonates with many outdoor enthusiasts who prioritize eco-conscious living. By installing a solar system in your camper, you not only enjoy modern conveniences but also align your lifestyle with values that promote environmental stewardship.
How to Choose the Right Solar System for Your Camper
Choosing the right solar system for your camper involves careful consideration of several factors tailored to your specific needs and preferences. Start by assessing your energy consumption requirements. Take stock of all the devices and appliances you plan to use while camping and calculate their total wattage needs.
This assessment will help you determine how many solar panels and what size battery bank you’ll need to ensure you have enough power for your trips. Next, consider the available space on your camper’s roof for solar panel installation. The size and number of panels you can install will depend on this space as well as any weight restrictions your vehicle may have.
If roof space is limited, you might explore portable solar panels that can be set up on the ground when parked. These options provide flexibility while still allowing you to harness solar energy effectively. Additionally, think about your budget and long-term goals.
While it may be tempting to opt for cheaper components initially, investing in high-quality equipment can pay off in terms of efficiency and longevity. Research reputable brands and read reviews from fellow campers to find reliable products that suit your needs. Remember that a well-designed solar system can enhance your camping experience for years to come.
Step-by-Step Guide to Installing a Solar System in Your Camper
Installing a solar system in your camper may seem daunting at first, but with careful planning and execution, it can be a rewarding DIY project. Begin by gathering all necessary components: solar panels, charge controller, batteries, inverter, wiring, and mounting hardware. Before starting the installation process, ensure that you have a clear understanding of your camper’s layout and where each component will be placed.
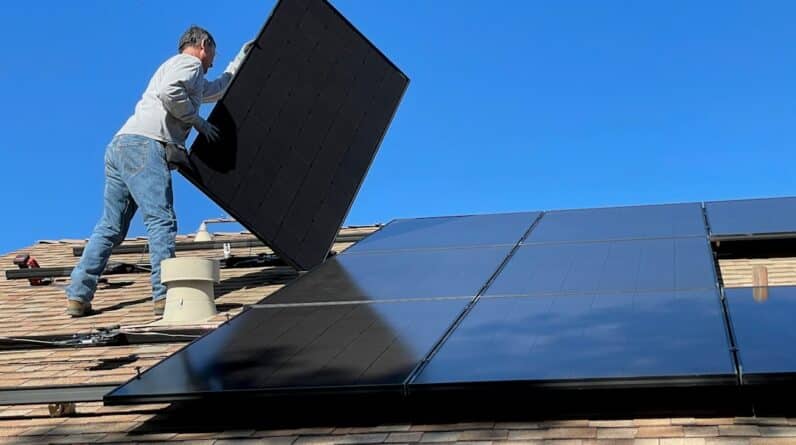
Start by mounting the solar panels on your camper’s roof. Use appropriate brackets or mounting hardware to secure them firmly in place while ensuring they are angled correctly for optimal sunlight exposure. Once the panels are installed, run wiring from the panels down through a designated entry point into your camper’s interior.
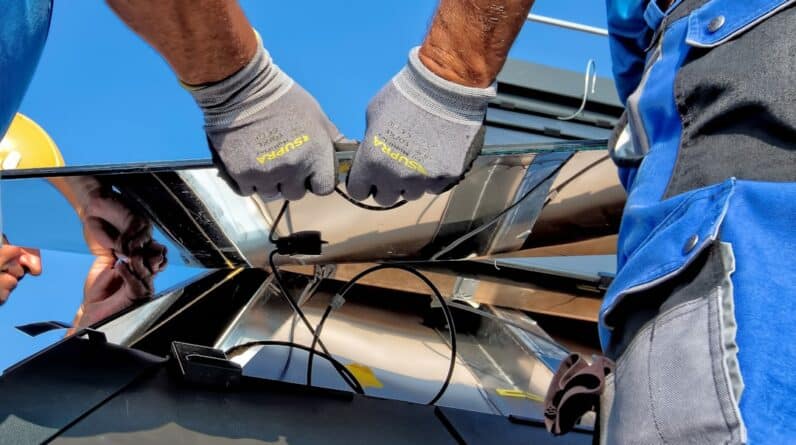
Next, connect the wiring from the solar panels to the charge controller according to the manufacturer’s instructions. The charge controller should then be connected to your battery bank, ensuring that all connections are secure and properly insulated to prevent any electrical issues. After connecting the batteries, link them to the inverter if you plan to use AC appliances.
Once everything is connected, double-check all wiring and connections before powering up the system. It’s advisable to test each component individually to ensure everything is functioning correctly before relying on it during your camping trips.
Maintenance and Care for Your Camper Solar System
Maintaining your camper solar system is crucial for ensuring its longevity and efficiency over time. Regular inspections should be part of your routine; check for any signs of wear or damage on the solar panels, wiring, and connections. Cleaning the solar panels periodically is also essential; dirt and debris can accumulate on their surface and reduce their efficiency in capturing sunlight.
Battery maintenance is another critical aspect of care for your solar system. If you’re using lead-acid batteries, check their water levels regularly and top them off with distilled water as needed. For lithium batteries, ensure they are kept within their recommended temperature range and avoid deep discharges whenever possible to prolong their lifespan.
Additionally, keep an eye on the charge controller’s performance by monitoring its display or indicators regularly. This will help you identify any potential issues early on before they escalate into more significant problems. By staying proactive with maintenance tasks, you’ll ensure that your camper solar system remains reliable throughout all your adventures.
Troubleshooting Common Issues with Camper Solar Systems
Even with proper installation and maintenance, issues may arise with your camper solar system from time to time. One common problem is insufficient power generation due to shading or dirt on the solar panels. If you notice that your battery isn’t charging as expected, inspect the panels for obstructions that may be blocking sunlight or clean them if they appear dirty.
Another issue could be related to battery performance. If you’re experiencing rapid battery drain or difficulty holding a charge, it may indicate that your batteries are nearing the end of their lifespan or that they were not adequately sized for your energy needs. In such cases, consider testing individual batteries or consulting with a professional for further evaluation.
Lastly, if you’re having trouble with your inverter not functioning correctly or producing error messages, check all connections and ensure that it is compatible with your battery type and capacity. Sometimes resetting the inverter or updating its firmware can resolve minor glitches.
Conclusion and Final Tips for Camper Solar System Diagrams
In conclusion, understanding camper solar system diagrams is essential for anyone looking to enhance their camping experience with renewable energy solutions. By familiarizing yourself with each component’s function and benefits, you can make informed decisions about installation and maintenance that will serve you well on countless adventures. As you embark on this journey toward energy independence in your camper, remember that thorough research and planning are key elements of success.
Take time to assess your energy needs accurately and choose high-quality components that will stand up to the rigors of outdoor living. Finally, embrace the learning process as you install and maintain your solar system; troubleshooting issues along the way will only deepen your understanding of how everything works together harmoniously. With dedication and care, you’ll enjoy many memorable camping trips powered by clean energy from the sun!
If you’re looking to power your camper with solar energy, you may also be interested in the INSE Cordless Vacuum Cleaner. This powerful solution for clean carpets is a convenient and efficient way to keep your camper tidy while on the road. Check out our article for more information on this handy cleaning tool.
FAQs
What is a camper solar system diagram?
A camper solar system diagram is a visual representation of the components and layout of a solar power system installed in a camper or recreational vehicle (RV). It shows how the solar panels, charge controller, battery bank, inverter, and other components are connected and positioned within the camper.
What are the components typically included in a camper solar system diagram?
The components included in a camper solar system diagram typically consist of solar panels, a charge controller, a battery bank, an inverter, wiring, and various fuses and disconnects. These components work together to capture, store, and convert solar energy to power the electrical systems in the camper.
Why is a camper solar system diagram important?
A camper solar system diagram is important because it provides a clear understanding of how the solar power system is set up in the camper. It helps owners and technicians troubleshoot issues, perform maintenance, and make upgrades or modifications to the system.
How can a camper solar system diagram be used?
A camper solar system diagram can be used as a reference guide for installing a new solar power system, upgrading an existing system, or troubleshooting electrical issues. It can also be used to ensure that all components are properly connected and functioning as intended.
Where can I find a camper solar system diagram for my specific camper model?
Camper solar system diagrams can often be found in the owner’s manual or documentation provided by the manufacturer of the camper. Additionally, there are many online resources and forums where camper owners share their solar system diagrams and experiences.